Installation step for step:
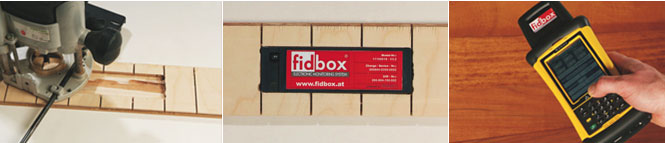
1. Step: the fidbox can be installed on all surfaces as an integrated part of a parquet element. To make this possible, it is necessary to use the supplied template and mill the necessary dimensions from the bottom side of the parquet element. This can be achieved by using a head milling machine or other suitable tools. The fidbox position should always be milled along the length of the parquet element.
2. Step: During the parquet installation, the tape strip which is mounted on one side of the fidbox should be removed, and the device placed into the parquet element with the taped going inside. Lightly press into position and securely fix. Do not use any other adhesive or sealant as these can endanger the function of the fidbox.
3. Step: During the parquet installation, you should placed the prepared parquet element on the designation position. Avoid contact between the parquet adhesive and lower side of the fidbox measuring position and thereby distorting results.
4. Step: After successful parquet installation, note the exact position of the fidbox in the Floor Pass. In this way you will make it easier to find it and to easily read-out the data. Explain to the builder, that carpet rugs or furniture should not be placed over the fidbox in order to avoid measurement distortion.
|